Best Battery Replacement for iPhone 7 Plus
Image

| Battery | Check Current Price |
|---|---|
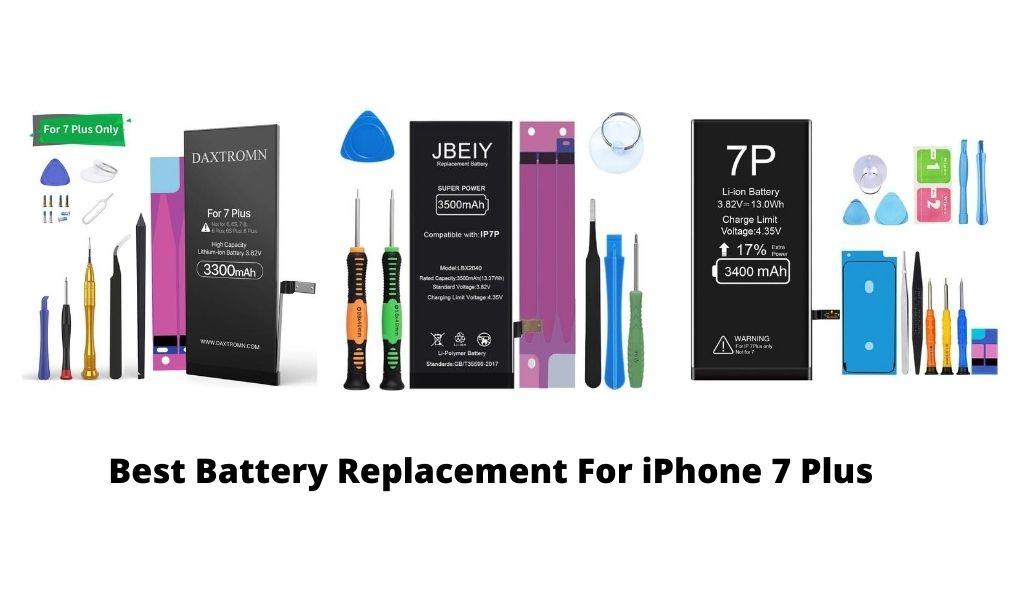
| LCLEBM Replacement Battery for iPhone 7 Plus | View On Amazon |
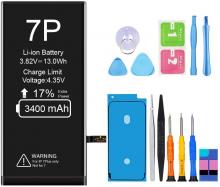
| Vancely Replacement Battery for iPhone 7 Plus - 3400mAh | View On Amazon |
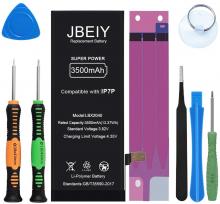
| JBEIY Replacement Battery for iPhone 7 Plus - 3500mAh | View On Amazon |
Find the best replacement battery for your Apple iPhone 7 Plus when you feel the original battery isn’t performing optimally. Replacing the battery is quite simple and you can do it on your own with a few instructions and tools. No need to spend hundreds of dollars on buying a new phone, when you can simply upgrade the battery at a fraction of the cost!
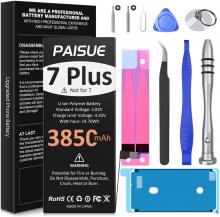
We’ve put together a list of some of the best Apple iPhone 7 Plus Replacement Batteries to help you make a quick upgrade. All of these come with the necessary tools and are perfectly compatible with the Apple phone.
Tips to follow when replacing the Apple iPhone 7 Plus battery
- Remember to discharge your battery below 20% and turn your phone off before you start the replacement.
- When handling the battery, avoid puncturing or damaging it as that may cause it to explode.
- After changing the battery, first charge it for around 6-8 hours, completely discharge it, and follow this cycle two or three times before you start using your replacement battery optimally.
- Always use the original Apple charger with the phone.
- Never keep your phone for charging after it reaches 100% as that generates extra heat.
Top iPhone 7 Plus Battery Replacement
How to replace the Apple iPhone 7 Plus battery?
Things you will need -
- Plastic triangle opening tool
- Nylon spudger
- SIM card ejection tool
- Fine tip curved tweezers
- Precision knife
- Professional Phillips screwdriver
- Professional iPhone Pentalobe screwdriver
- Professional tri-point screwdriver
Step 1 -
Shut down your Apple iPhone 7 Plus and eject the nano-SIM card tray.
Step 2 -
Remove the two bottom 3.4 mm Pentalobe screws located next to the Lightning connector.
Step 3 -
Using the precision knife, create enough space between the screen and phone frame to insert a triangle opening tool. Slice through the adhesive and carefully decouple the display assembly from its rear case.
Sep 4 -
The display assembly is still connected to the phone by cables so don't try to remove it entirely yet. First, remove the four tri-point screws securing the metal plate that covers the battery connector. Once the plate is removed, you can snap up the cables easily from the logic board.
Step 5 -
Next, remove the three tri-point screws that are securing the metal plate that covers the upper component display cable. Once the bracket is removed, disconnect the cable and free the iPhone display assembly from the phone.
Step 6 -
To remove the barometric fan, first, unscrew the two Phillips screws and then raise it out of the rear case.
Step 7 -
Next, remove the three Phillips screws keeping the taptic engine in place and detach the sleek engine.
Step 8 -
Locate the three peel to remove adhesive tabs that are at the bottom of the battery. Keeping the adhesive strip flat and wide, slowly and gently pull each tab up and away from the Apple iPhone 7 Plus battery until the strips come out from between the battery and the rear case, allowing the battery to pop out.
Step 9 -
Replace the old battery with the new one and follow these steps in reverse order to reassemble your phone.
{"preview_thumbnail":"/sites/default/files/styles/video_embed_wysiwyg_preview/public/video_thumbnails/pmm4D8mpQ6I.jpg?itok=js3tKKzH","video_url":"https://www.youtube.com/watch?v=pmm4D8mpQ6I","settings":{"responsive":1,"width":"854","height":"480","autoplay":0},"settings_summary":["Embedded Video (Responsive)."]}


