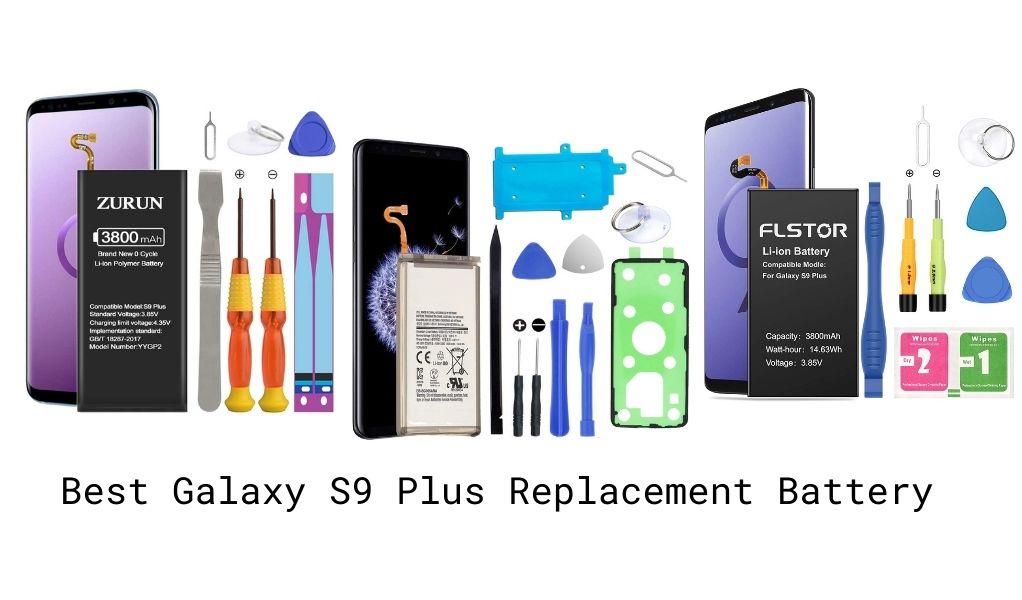
Galaxy phones offer great features and long battery life, but even the best smartphones require a little extra help to elongate their usage and life! Replacing your battery is a great way to retain your phone while getting optimal battery life for a long time. We’ve rounded up some great replacement batteries for the Galaxy S9 Plus phone that are a perfect fit and offer efficient and high-power charging.
All these options come with repair tools and accessories that make it easy to replace the battery on your own. Scroll below for a detailed set of instructions on how to replace the Galaxy S9 Plus battery as well.
Top Galaxy S9 Plus replacement battery
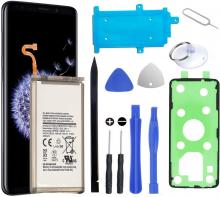
The HDCKU Galaxy S9 Plus Battery Replacement Kit comes with the replacement battery as well as the needed repair tools and accessories. The Lithium-Ion battery is sold only after being tested under strict quality control standards and comes with FCC, CE, and ROHS certification. The battery uses high-quality Grade A cells, upgraded for better safety features such as overheating protection and short-circuiting.
- Grade A cells ensure longer battery life with over 500 cycles.
- High-speed and efficient charging with 3500mAh battery capacity and 3.85V.
- Works just as well as the original Samsung Galaxy S9 Plus battery.
Compatibility -
Compatible with All Galaxy S9 Plus Carriers.
Package contains -
1 x cell phone battery for Samsung S9 Plus with Tools
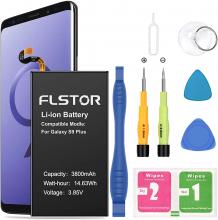
The FLSTOR Li-ion Battery for Samsung Galaxy S9 Plus is a top-rated li-ion battery that provides over 900 charging cycles. With efficient and high-speed charging, this replacement battery is perfect to boost your phone’s battery life back. Get more than 900 charging cycles with the high-quality copper connectors that offer optimal connection. The 100% new and zero cycle battery fits perfectly in the phone and guarantees highly efficient PCB to match its original battery standards. It also comes with the highest level of security protections such as over-charging, over-heating, over-loading, and short-circuiting to offer effective temperature control and PTC protection.
- Made of top-rate A li-ion battery cells for high-speed and efficient charging.
- Get 900 plus charging cycles with the high-quality copper connectors.
- The battery is made under strict quality control standards and comes with a 24-Months Warranty and 30-days Money Back Guarantee.
Compatibility -
Compatible with Galaxy S9 Plus SM-G965, G965V ( Verizon ), G965A ( AT&T ), G965T ( T-Mobile ), G965P ( Sprint ), and G965R4 (US Cellular).
Package contains -
1 x replacement battery
1 x replacement tool kit
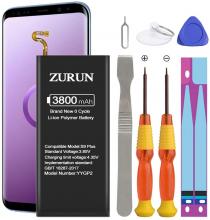
The ZURUN Li-Polymer Battery Replacement for Samsung Galaxy S9 Plus comes with the highest level of security protections so you get protection from over-loading, over-heating, over-charging, and short-circuiting. It offers highly effective temperature control to make sure that your new replacement battery does not fail. Each replacement battery is tested under strict guidelines and quality standards before sales. It matches the original Galaxy battery standards and has a capacity of 3800mAh. The highly effective temperature control for the Lithium polymer battery, connector, and PCBA ensure your battery lasts longer than the original!
- Protection from over-loading, over-heating, over-charging, and short-circuiting.
- Easy installation with the included repair and replacement tool kit.
- 2-year warranty for the battery as well as replacement within 3 months of purchase.
Compatibility -
Compatible with Galaxy S9 Plus SM-G965, G965V ( Verizon ), G965A ( AT&T ), G965T ( T-Mobile ), G965P ( Sprint ), and G965R4 (US Cellular).
Package contains -
- 1 x Replacement Battery for S9 Plus
- 1 x Repair Tool Kit
1 x Adhesive strip
How to replace the Samsung Galaxy S9 Plus battery?
Things you will need -
- Small Phillips head screwdriver
- Prying tools
- Suction cup
- Tweezers
- SIM card ejector tool
- Hairdryer
Step 1 -
Turn the Samsung Galaxy S9 Plus smartphone off and remove the SIM and SD card tray.
Step 2 -
Using a hairdryer, heat up the back cover especially around the edges by moving it around for about a minute. Once the adhesive holding the rear plate and phone frame together is loose enough, take a suction cup to put pressure upwards until the back lifts a little and you can see a gap.
Step 3 -
Take the prying tool and move it between the two from on all the sides, removing the adhesive and releasing the back cover. Make sure to be careful with the prying tool that you insert so you don’t damage any components inside.
Step 4 -
Slowly lift up the back cover once released from the adhesive and disconnect the flex cable for the fingerprint scanner before you can completely free it from the frame.
Step 5 -
Using the small Phillips head screwdriver, remove all of the small Phillips head screws that are holding down the back frame.
Step 6 -
Wedge the prying tool under the wireless charger pad to remove the underlying adhesive and lift it up out of place.
Step 7 -
Disconnect the battery cable and pull it back to remove any remaining electricity flow into the phone.
Step 8 -
To completely remove the battery and replace it, you have to first heat up the front of the phone to loosen up the adhesive that is holding the battery down to the frame. Using the same method as before, carefully heat the LCD screen.
Step 9 -
Wedge the plastic prying tool in between the battery and the frame and pull up on it gently to let the battery slide out.
Step 10 -
Replace the old battery for a new one and follow the steps in reverse order to put the smartphone back together.
{"preview_thumbnail":"/sites/default/files/styles/video_embed_wysiwyg_preview/public/video_thumbnails/gkjrUEJ7DSk.jpg?itok=l2RYKZBS","video_url":"https://www.youtube.com/watch?v=gkjrUEJ7DSk","settings":{"responsive":1,"width":"854","height":"480","autoplay":0},"settings_summary":["Embedded Video (Responsive)."]}


