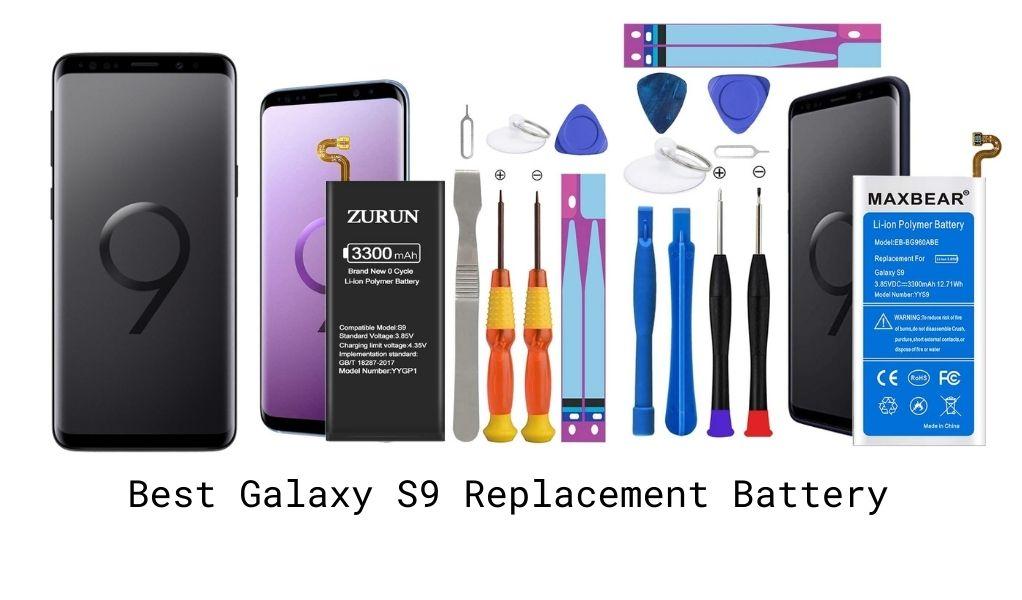
Best Galaxy S9 Replacement Battery
Image

The Galaxy S9 smartphone is one of the best in the Android market and quite a consumer favourite due to the many features and advanced camera capabilities it offers. If you’ve got one of these superior pieces of tech, you would surely want to elongate its life and use it for as long as possible. The best way to do so is by investing in a good Galaxy S9 Replacement Battery that is efficient and can enhance your phone’s usage optimally.
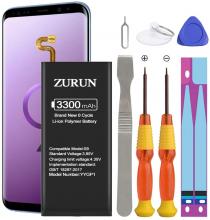
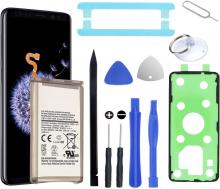
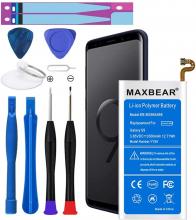
3 Top Galaxy S9 Replacement Battery
How to change the Galaxy S9 replacement battery?
Things you will need -
- Small Phillips head screwdriver
- Open Prying tool
- Hairdryer or heat gun
Step 1 -
Make sure that the phone is powered off and start by using a hairdryer or heat gun on the back cover and make sure to move around consistently so that you don't burn the inside of the phone.
Step 2 -
Place the suction cup towards the bottom of the back and pull up slightly till you see a slight opening in between the glass and the metal frame.
Step 3 -
Continue pulling up gently as the adhesive loosens up and stick the guitar pick inside the opening. Wedge it in and move it around on each side to release the back cover from the frame. There is a flex cable that connects the fingerprint scanner to the phone so be careful with that will pulling it apart.
Step 4 -
Remove the 15 small Phillips head screws that are holding the back frame together with a small Phillips head screwdriver.
Step 5 -
Next, remove the back plastic housing by gently giving it some pressure upwards but be careful with the antenna cable. There still may be some adhesive holding it on but you can pull that off easily.
Step 6 -
Now, pull up the bottom part which is the loudspeaker by pulling it up and away from the adhesive.
Step 7 -
You’ve finally reached the battery so you can now disconnect the battery flex cable to stop any electricity from flowing through.
Step 8 -
To completely remove the battery and replace it you have to heat up the front of the phone as well to loosen up the adhesive that is holding the battery down to the frame. Using the same method as before, carefully heat the LCD screen.
Step 9 -
Wedge the plastic prying tool in between the battery and the frame and pull up on it gently to let the battery slide out.
Step 10 -
Replace the old battery for a new one and follow the steps in reverse order to put the phone back together.


