Best iPad 6th generation battery replacement
Image
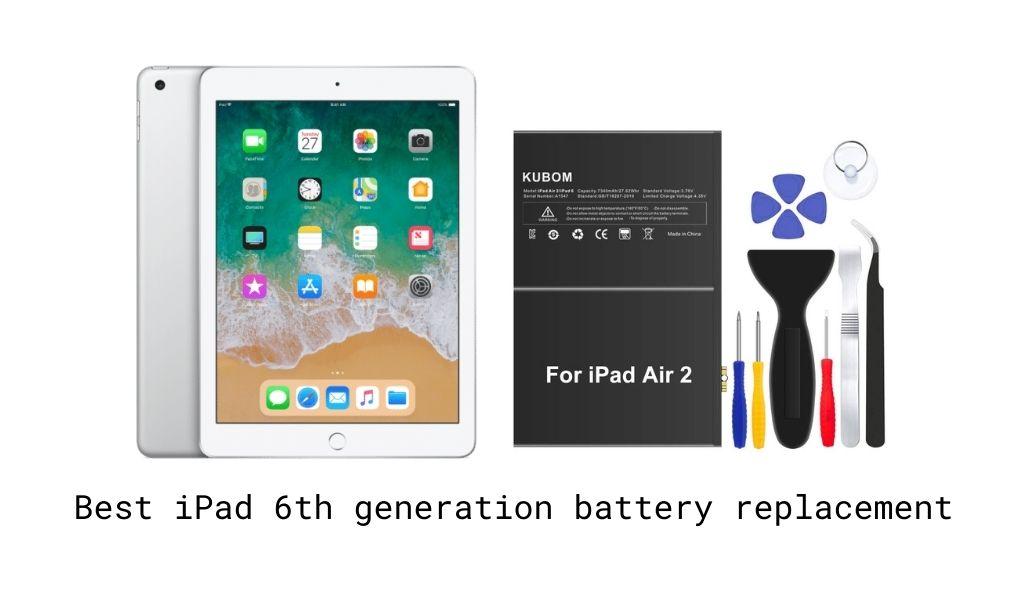
| Battery | Check Current Price |
|---|---|
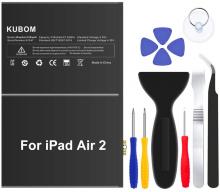
| KUBOM Replacement Battery for iPad 6 | View On Amazon |
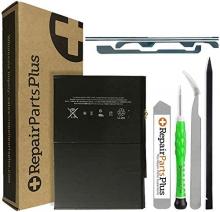
| RepairPartsPlus Battery Replacement Kit for iPad 6 | View On Amazon |
| E-YIIVIIL Replacement Battery for iPad 6 | View On Amazon |
Replace your iPad 6th generation battery and upgrade it with a new one. This is a great way to elongate the life of your tablet and use it as long as possible. The iPad 6th generation is a great tablet that is used by students and professionals alike to carry out projects with ease. Choose from a range of iPad 6th generation battery replacement options online that can help you upgrade your device at a fraction of the cost.
Here are some of the best iPad 6 battery replacement options for you to pick from.
Read below for detailed instructions on how to replace the iPad 6th generation battery.
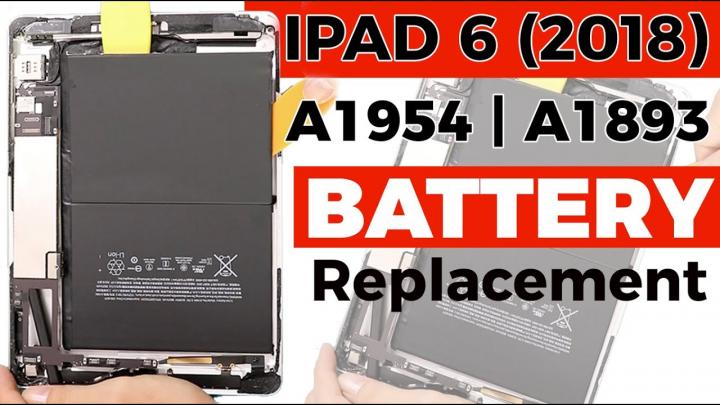
How to replace the iPad (6th generation) battery?
STEP 1 -
Using a heat gun, properly heat up the front and back of your tablet to separate the screen from the body.
STEP 2 -
Once completed, use a suction cup on the sides to lift the front screen and insert a plastic pry tool in between, unsticking the adhesive.
STEP 3 -
Be gentle while pulling the cables attached to the logic board. Move the screen to a 90-degree angle and then disconnect the plug by undoing the screws. Now you can unplug both touchscreen connectors by the socket and then peel the tape.
STEP 4 -
Next, you can take off the LCD screen by undoing the screws and removing the sticky tapes that are covering the screw heads.
STEP 5 -
Take out the touch id connector and undo the screws on top of the battery connector. Undo three more screws to release the shield on top.
STEP 6 -
Next, starting from the top right disconnect both rear and front cameras, headphone jack, button plug, and microphone plugs and then slowly rest the board.
STEP 7 -
Insert a pry tool to cut the adhesive and remove the battery, and raise it out slowly as the bottom adhesive can be strong. Replace it with the new one and follow the steps in reverse order to put your tablet back.

