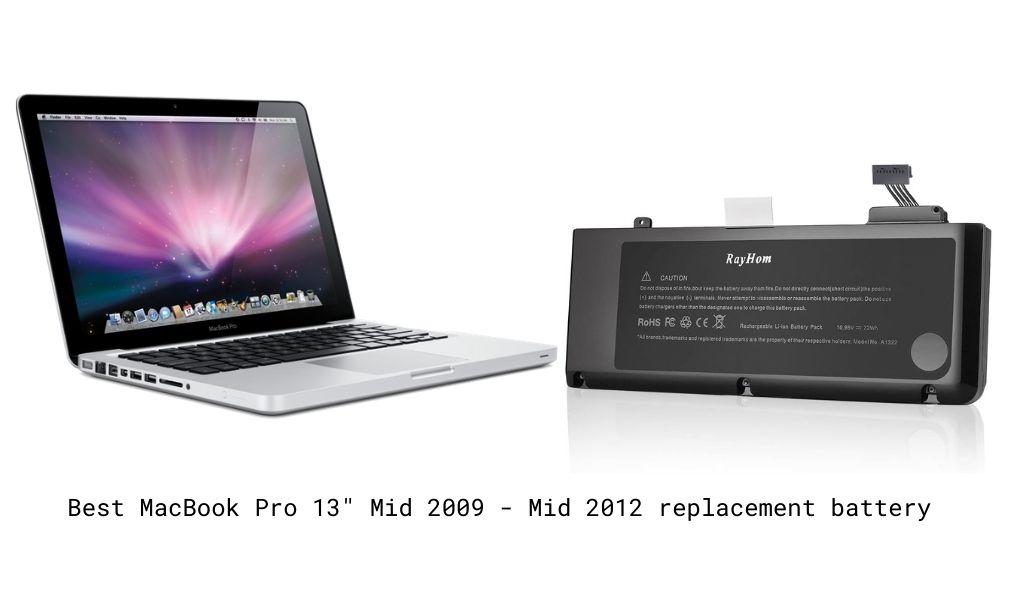
Best MacBook Pro 13" Mid 2009 - Mid 2012 replacement battery
Image

| Battery | Check Current Price |
|---|---|
| NinjaBatt Laptop Battery for Apple MacBook Pro 13" | View On Amazon |
| RayHom Battery for Apple Macbook Pro 13 inch | View On Amazon |
| Easy&Fine Replacement Laptop Battery for MacBook Pro 13 inch | View On Amazon |
Find the best MacBook Pro 13" Mid 2009 - Mid 2012 replacement battery
When you want to upgrade the power of your laptop and bring its original life back. Replacing the battery instead of buying a completely new laptop is much cheaper and a more efficient option!
How to find out if it is time to change your MacBook Pro 13" Mid 2009 - Mid 2012 replacement battery
Your Apple MacBook Pro 13" Mid 2009 - Mid 2012 laptop comes with a quick feature that shows you how your battery’s condition is. Here’s how -
- Press down the Option key and then click on the Apple menu on the top left of your screen.
- Open System Information and go to Power under the Hardware section.
- You will be able to see the current cycle count and condition of your battery under Battery Information.
Buy the best MacBook Pro 13" Mid 2009 - Mid 2012 replacement battery for your laptop
Steps to replace the MacBook Pro 13" Mid 2009 - Mid 2012 battery
Step 1 -
Shut down the MacBook Pro and flip it over. On the bottom you will see 10 Phillips screws to be removed. 3 of them are longer than the others so we'll remove them first and then remove the remaining 7 screws, which are all the same size.
Step 2 -
Lift the bottom cover off and detach the battery connector by lifting up on the sides with either your fingernails or a nylon tool.
Step 3 -
Once the connector is detached, remove the 2 screws that hold the battery in place.
Step 4 -
Peel back the label on the left side so that it's no longer attached to the frame of the MacBook Pro.
Step 5 -
Use the plastic tab to lift the battery out from the MacBook Pro making place to set your new battery into the MacBook Pro. Make sure the 3 notches fit under the 3 tabs and the sits fall flat in place.
Step 6 -
Do the steps in reverse order to secure the battery in place by attaching the connector and screws.
{"preview_thumbnail":"/sites/default/files/styles/video_embed_wysiwyg_preview/public/video_thumbnails/aQLov6ZaE9I.jpg?itok=3GOC3AXk","video_url":"https://www.youtube.com/watch?v=aQLov6ZaE9I","settings":{"responsive":1,"width":"854","height":"480","autoplay":0},"settings_summary":["Embedded Video (Responsive)."]}


