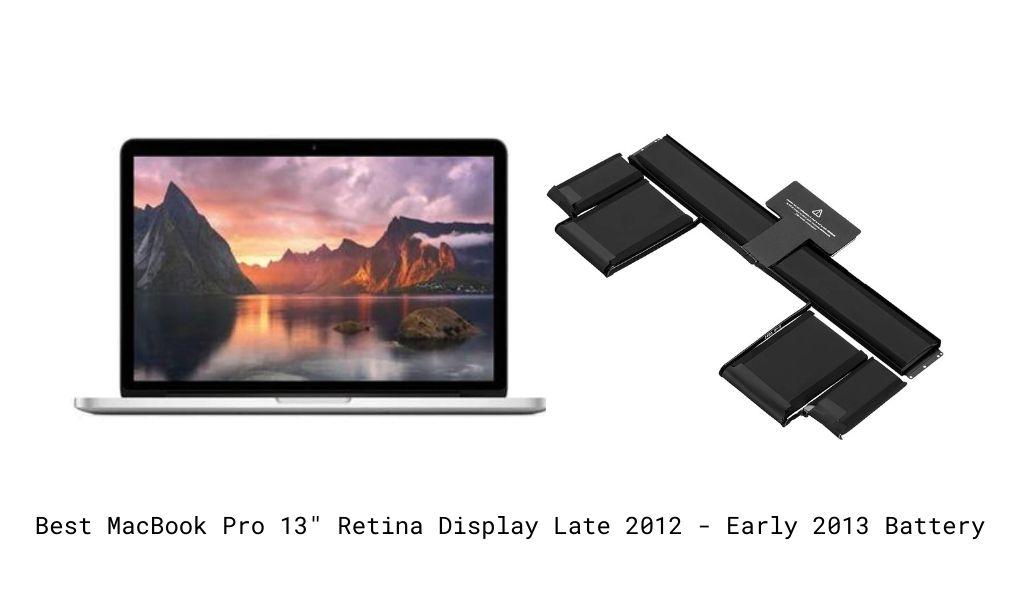
Best MacBook Pro 13" Retina Display Late 2012 - Early 2013 Battery
Image

| Battery | Check Current Price |
|---|---|
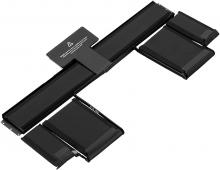
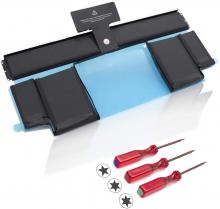
| E EGOWAY Replacement Battery for MacBook Pro Retina 13 inch Late 2012 Early 2013 | View On Amazon |
| Puredick Battery for MacBook Pro 13 inch Retina Late 2012 Early 2013 | View On Amazon |
Make sure you use your MacBook Pro 13" Retina Display Late 2012 - Early 2013 to its fullest capacity by elongating its life. This can be done by simply replacing the battery with a new one, without having to change your whole laptop! Not only is this more efficient, but also more economical.
When is it time to replace the MacBook Pro 13" Retina Display Late 2012 - Early 2013 original battery?
The MacBook Pro 13" Retina Display Late 2012 - Early 2013 monitors the battery’s health and condition and lets you know when it is time to repair, change, or replace it.
Press the Option key and then click on the Apple menu on the top left of your screen.
Open System Information and go to Power under the Hardware section.
You can now see the current cycle count and condition of your battery under Battery Information.
Here some of the best batteries for MacBook Pro 13" Retina Display Late 2012 - Early 2013
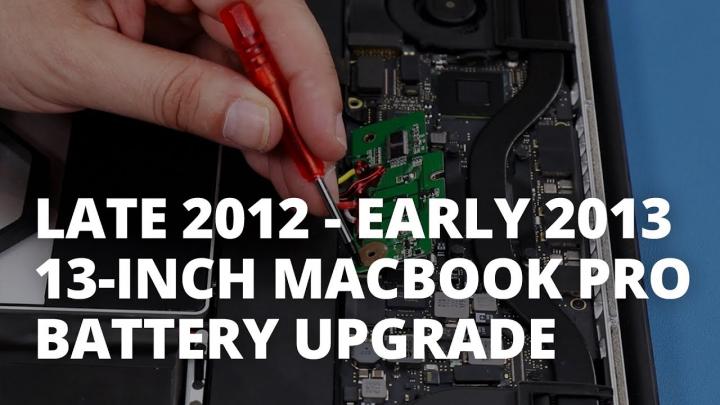
Steps to replace the MacBook Pro 13" Retina Display Late 2012 - Early 2013 on your own
Step 1 -
Drain the battery until the computer shuts down to reduce the risk of accidental ignition of the battery.
Step 2 -
Start by removing the two Pentalobe screws in the center and then the remaining eight.
Step 3 -
Lift the bottom cover up and off and set it aside.
Step 4 -
Now, to disconnect the battery you'll need to peel back the label in order to access the Torx t6 screws holding the battery board in place.
Step 5 -
First, remove the two visible black screws from the side and top of the board.
Step 6 -
Next, remove the silver barrel screw holding the plastic cover in place and then remove the cover to reveal the final flat-topped silver screw which then also needs to come out. The board should then lift up easily.
Step 7 -
Next, disconnect the SSD cable from its connector on the logic board and remove the SSD carrier by squeezing the small handle and lifting it up and out of the laptop.
Step 8 -
Now remove the three Torx t5 screws holding the left speaker in place and then lift the speaker assembly up and rotate it so that it sits out of the way.
Step 9 -
This will allow you to remove the three Torx t5 screws holding in the top part of the battery.
Step 10 -
Carry out the same functions for the right speaker and remove the three screws holding in the battery.
Step 11 -
Carefully, using the adhesive remover, apply it under the outer battery cells and let it sit for about a minute or two. Using a plastic card underneath the battery cell, slice through the weakened adhesive strips until they’re free. Repeat this process for each cell.
Step 12 -
You should now be able to lift the battery unit up and out of the MacBook Pro 13" Retina Display Late 2012 - Early 2013.
Step 13 -
Clean any remaining adhesive on the surface and peel off the paper backing on your replacement battery that covers the adhesive.
Step 14 -
Set it in place making sure it lays flat and then carry out the steps in reverse order to complete the replacement.


