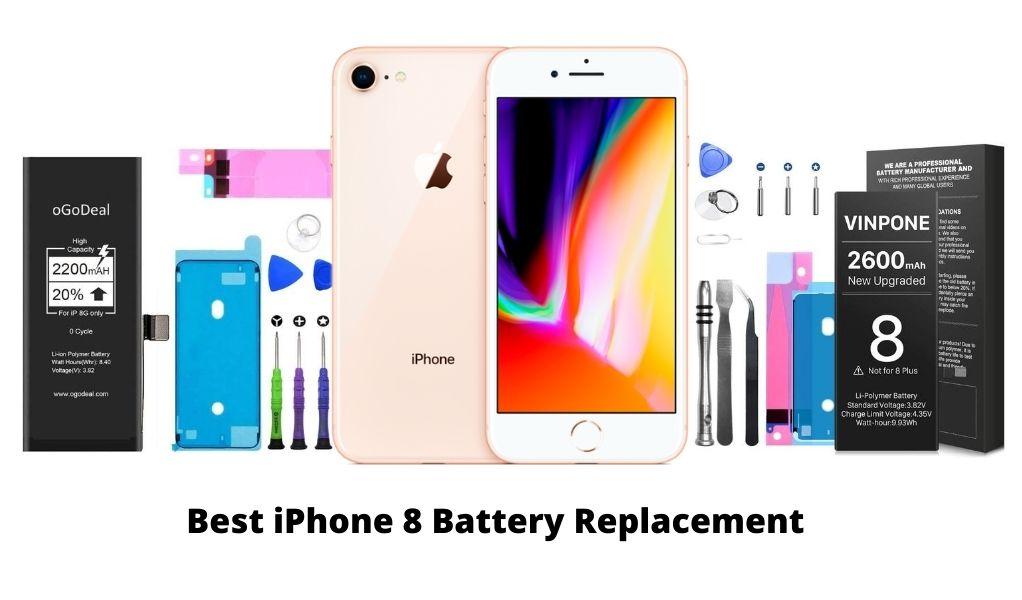
Best iPhone 8 Battery Replacement
Image

| Battery | Check Current Price |
|---|---|
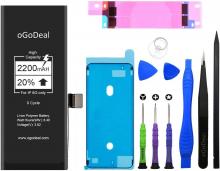
| oGoDeal Battery Replacement for iPhone 8 - 2200mAh | View On Amazon |
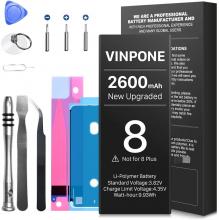
| SHENMZ Replacement Battery for iPhone 8 - 2600mAh | View On Amazon |
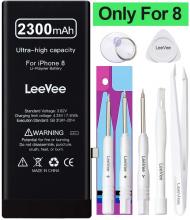
| LeeVee Replacement Battery For iPhone 8 - 2300mAh | View On Amazon |
Replacing your original Apple battery is a great way to elongate your phone’s life and use it for years without compromising on its quality. With constant use, phones tend to reduce in battery power and require frequent charging on a daily basis. By replacing the battery you can change that and bring the phone back to its original capacity and battery efficiency!
To make sure you are using your phone to its optimal performance, calibrate the newly installed battery. To do this, completely drain the battery below 5% and then charge it uninterrupted to a complete 100%. Do this at least 2 to 3 times to ensure complete optimisation.
Top iPhone 8 Replacement Battery
How to replace the iPhone 8 battery?
Things you will need -
- White tip double zero or triple zero screwdriver
- basic Phillips head double zero or triple zero screwdriver
- Pentalobe proprietary screwdriver
- Set of tweezers
- Plastic prying tool for prying connections apart
- Suction cup for prying the screen apart
- Triangular plastic and metallic tools to pry the screen apart
Step 1 -
Shut down your Apple iPhone 8 and eject the nano-SIM card tray.
Step 2 -
Remove the bottom 2 Pentalobe screws that are placed next to the charging port.
Step 3 -
Place the suction cup as close as you can to the home button and lightly pull upwards.
Step 4 -
Use the metallic prying tool and sneak it in right below the home button, moving it from left to right to separate the screen from the frame as it is glued around the edge with waterproof tape. Slice through the adhesive and carefully decouple the display assembly.
Step 5 -
Tilt the screen up but don’t remove it completely as it is still connected to the phone by cables on the right side.
Step 6 -
Start with the top camera connection cable and remove the metal shield that is secured with three Phillips head screws. Remove the three screws to do so and gently lift up and move the shield out of the way to expose the camera connection cable. Using a plastic prying tool just snap the cable up from underneath and it should come right out.
Step 7 -
Now shift down to the second connection that is also guarded by a shield secured with four Phillips head screws. Remove those four the shield out of the way. Using the same technique, snap off the LCD connection and undo the digitizer ribbon cable to separate the screen completely.
Step 8 -
Disconnect the battery cable to separate it from the phone. The battery is secured with four durable pull tabs, start by removing the PLAs from the corner and then pull up on the tabs a little at a time.
Step 9 -
The adhesive straps will start coming out slowly as they are very strong. Remove them one after another to completely free the battery. Replace the old one for a new battery and reassemble the phone by following the steps in reverse order.
{"preview_thumbnail":"/sites/default/files/styles/video_embed_wysiwyg_preview/public/video_thumbnails/25zAK5mGNdY.jpg?itok=FMLF5120","video_url":"https://www.youtube.com/watch?v=25zAK5mGNdY","settings":{"responsive":1,"width":"854","height":"480","autoplay":0},"settings_summary":["Embedded Video (Responsive)."]}


