Best Battery Replacement For MacBook Air 13" Late 2010 - Mid 2017
Image
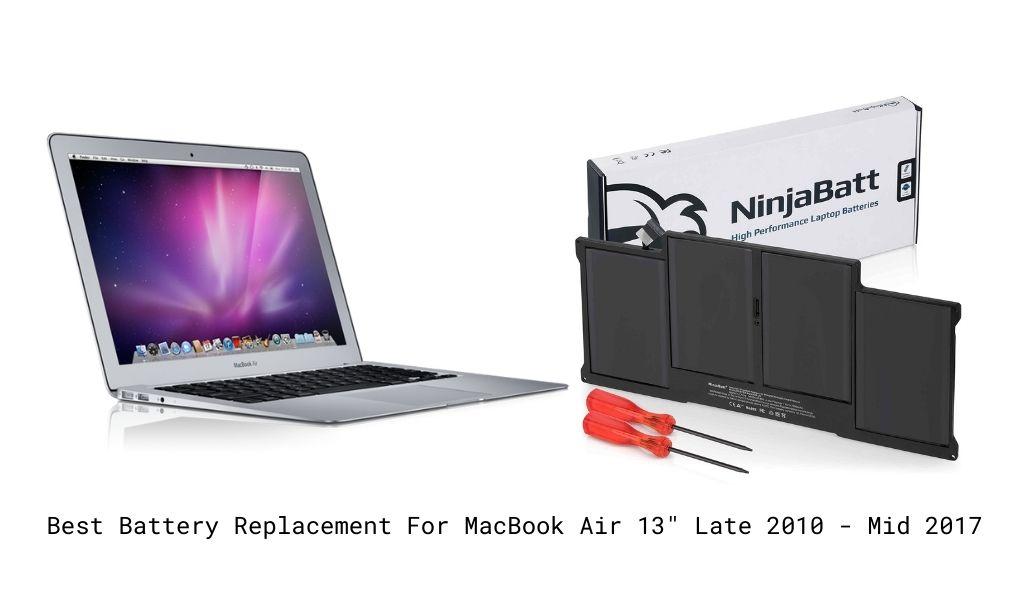
| Battery | Check Current Price |
|---|---|
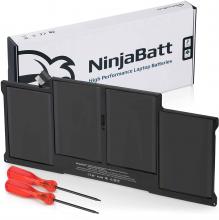
| NinjaBatt Battery for MacBook Air 13 Inch 2010-2017 | View On Amazon |
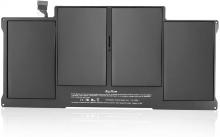
| RayHom Replacement Battery for MacBook Air 13 inch | View On Amazon |
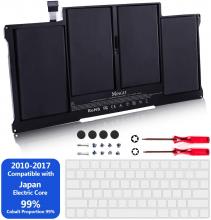
| XINGLT Replacement Battery for MacBook Air 13 inch | View On Amazon |
The MacBook Air 13" Late 2010 - Mid 2017 is an amazing laptop used by many for work or school. Its light-weight composition and fast features have earned it a great name in the market. If you own one of these systems, you may want to retain it for longer and not change it. Unfortunately, over time all laptops reduce in power and offer lesser charge.
The best option is to replace your battery and not your laptop! Here are the best MacBook Air 13" Late 2010 - Mid 2017 replacement battery options for you. Read below for detailed instructions on how to replace your laptop battery by yourself.
When should you replace your MacBook Air 13" Late 2010 - Mid 2017 battery?
Your MacBook Air 13" Late 2010 - Mid 2017 will provide detailed data on what your battery’s health is at any given moment. Follow the below instructions to know-how -
- Press the Option key and then click on the Apple menu on the top left of your screen.
- Open System Information and go to Power under the Hardware section.
- You can now see the current cycle count and condition of your battery under Battery Information.
Best options for MacBook Air 13" Late 2010 - Mid 2017 battery replacement
How to replace the MacBook Air 13" Late 2010 - Mid 2017 battery on your own?
Step 1 -
Shutdown and unplug the MacBook Air. Make sure you are working on a soft static-free surface. Now, close your Macbook and flip it over.
Step 2 -
At the bottom, you will see ten 5-point Torx screws to remove using a Pentalobe screwdriver. The two center screws along the hinge edge are longer than the rest so remove those first.
Step 3 -
Lift the bottom cover off but there's a snap in the center so you will have to pull a bit to detach it.
Step 4 -
You will see the battery connector that has to be carefully detached and removed.
Step 5 -
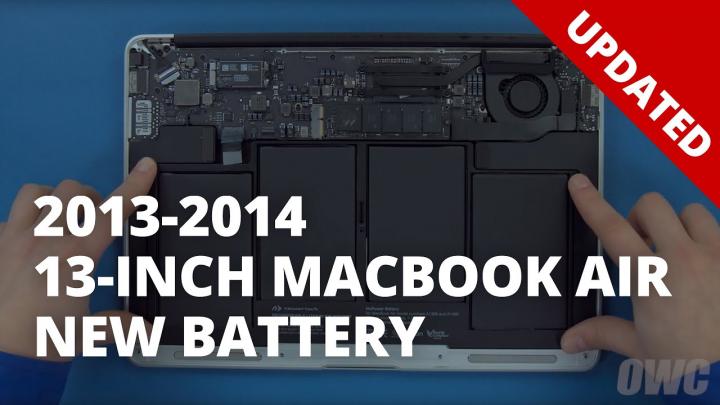
Next, there are five screws holding the battery in place that need to be removed. Start with the three in the back and center that are longer and then move to the two shorter ones near the front.
Step 6 -
Now all you need to do is lift the battery out of its place and replace it with the new one. Make sure it is laying flat and perfectly in place. Carry out the steps in reverse order to put back your laptop and start using it again.

