Top MacBook Pro 13" Retina Display Late 2013 - Early 2015 Battery Replacement
Image
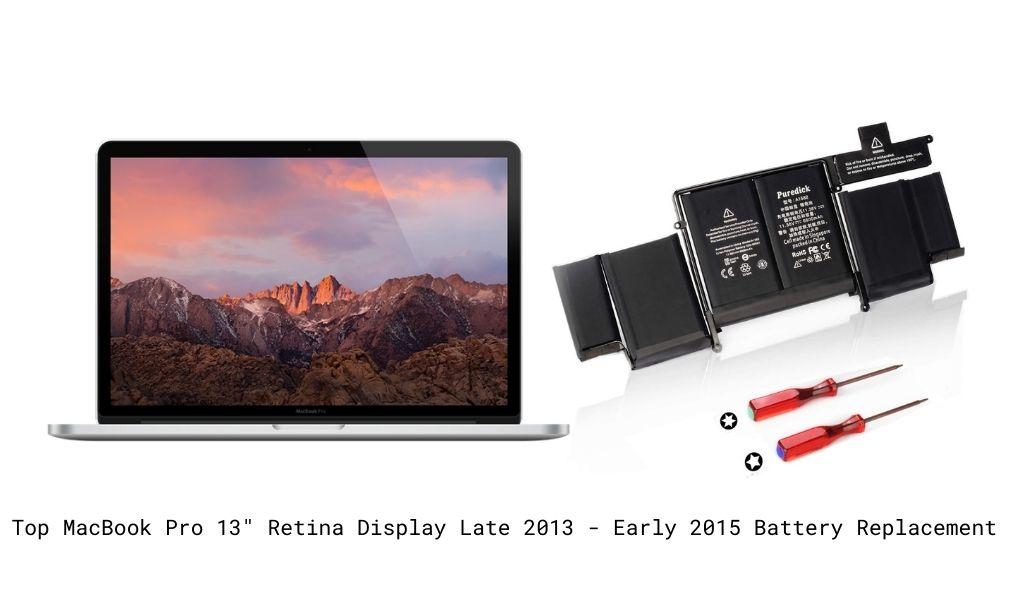
| Battery | Check Current Price |
|---|---|
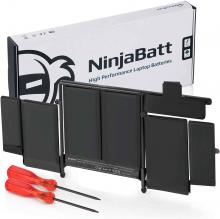
| NinjaBatt Battery for MacBook Pro Retina 13” A1502 | View On Amazon |
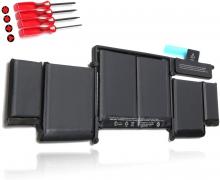
| ROLADA MacBook Pro Retina 13 Inch A1502 Battery | View On Amazon |
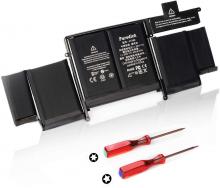
| Puredick Battery for MacBook Pro 13 inch Retina Early 2015 Mid 2014 Late 2013 | View On Amazon |
When using your MacBook Pro 13" Retina Display Late 2013 - Early 2015 at full capacity, it is impossible to not drain your battery out. Even though this laptop is one of the best, you can give it a boost by replacing the original battery with a new one.
Here are some of the best MacBook Pro 13" Retina Display Late 2013 - Early 2015 Battery Replacement to choose from.
When is it time to replace your MacBook Pro 13" Retina Display Late 2013 - Early 2015 original battery?
The MacBook Pro 13" Retina Display Late 2013 - Early 2015 has the ability to continually monitor the health and condition of your original battery and gives you the required information. It lets you know when it is time to repair, change, or replace it. To do so, follow these quick and simple steps without any professional help.
- Press down the Option key and then click on the Apple menu on the top left of your screen.
- Open System Information and go to Power under the Hardware section.
- You will be able to see the current cycle count and condition of your battery under Battery Information.
Best replacement battery to buy for your MacBook Pro 13" Retina Display Late 2013 - Early 2015
How to change the MacBook Pro 13" Retina Display Late 2013 - Early 2015 battery yourself?
Step 1 -
Turn the MacBook Pro 13" Retina Display Late 2013 - Early 2015 upside down and start by removing the ten Pentalobe (P5) screws.
Step 2 -
Feel down the side and slide your fingernail under the cover to lift it gently.
Step 3 -
Pry and remove the connector from the motherboard using a plastic tool so you've isolated the power from the battery.
Step 4 -
Next, locate the three Torx (T5) screws on the left speaker and unscrew those. Carefully lift the speaks out but don’t disconnect the cable.
Step 5 -
Remove the next four Torx (T5) support screws and the three screws on the right speaker. Remove the battery controller screws as well.
Step 6 -
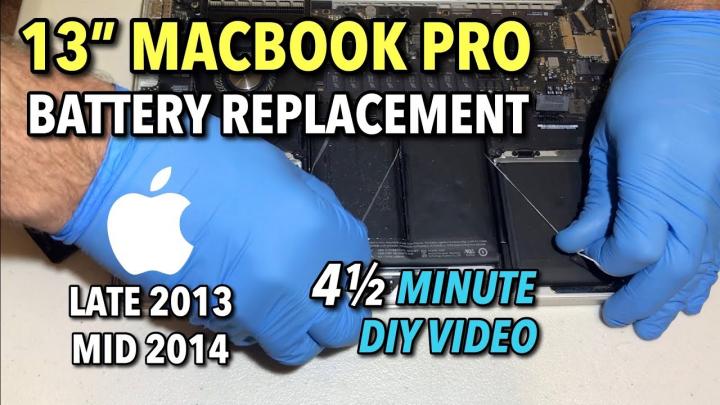
Using a thread or floss, move the battery out of place by moving it under carefully. Once you can feel the batteries moving around freely, pry it up and gently remove it.
Step 7 -
Clean the remaining adhesive and line the new battery up in place, following the above steps in reverse order to put the laptop back together.

